How to Onboard a New Hire
Employees Unable to Request Leave because of Shift Schedule
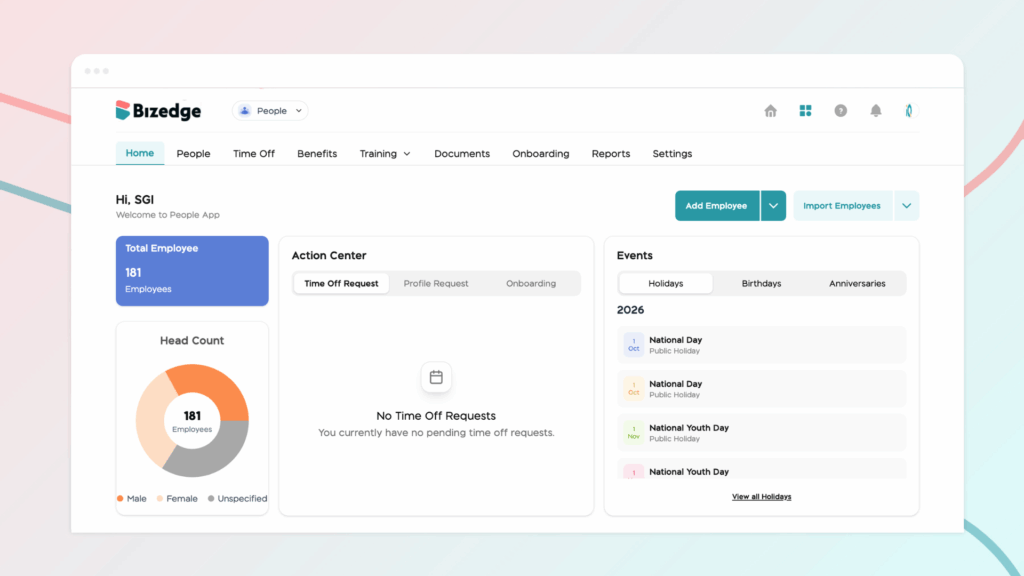
People Access Levels allow you to control what each user can view and manage within the People app. By assigning the appropriate access level, you can ensure employees have the right permissions based on their responsibilities while maintaining the security of your organization’s data.
This guide will walk you through how to invite a new user and assign the appropriate People access level, whether they need basic access, approval privileges, or full administrative rights.
Step 1: To invite a new user and assign access permissions, log in to the BizEdge Dashboard and locate and click the company profile picture or logo to open the company settings, usually displayed at the top section of the dashboard where administrative and user management options are available.
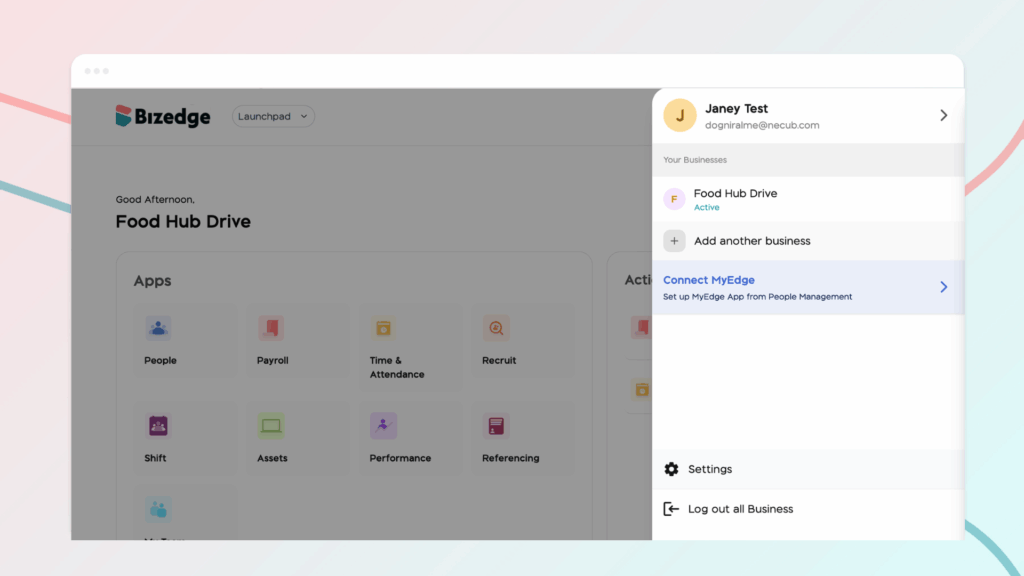
Step 2: Once inside the settings page, navigate to the Access Level section. This section allows admins to manage user permissions, invite new users to the system, and define what level of access each user should have within the platform.
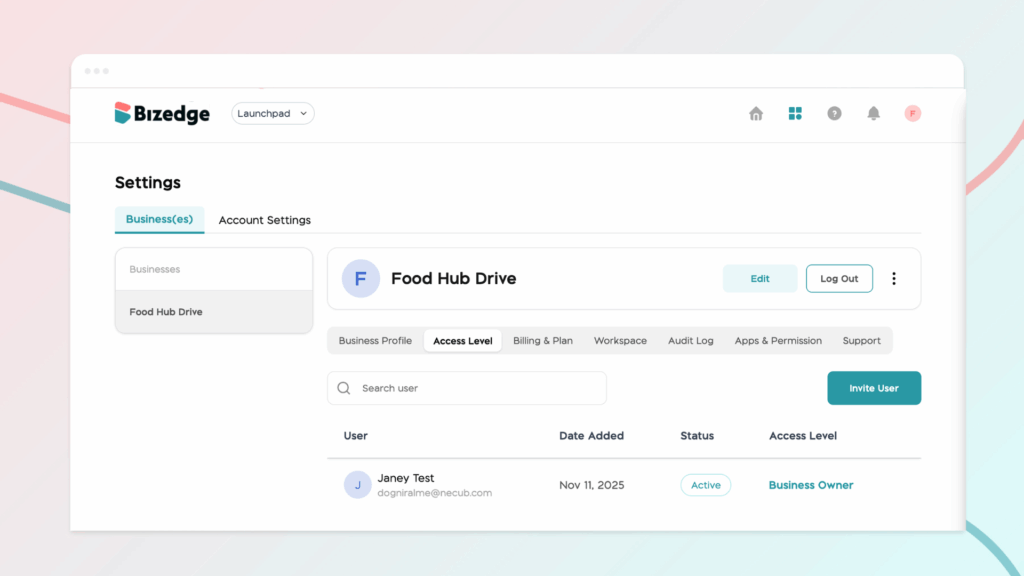
Step 3: Click on Invite User to begin the process of adding a new user either as an employee or as a guest.
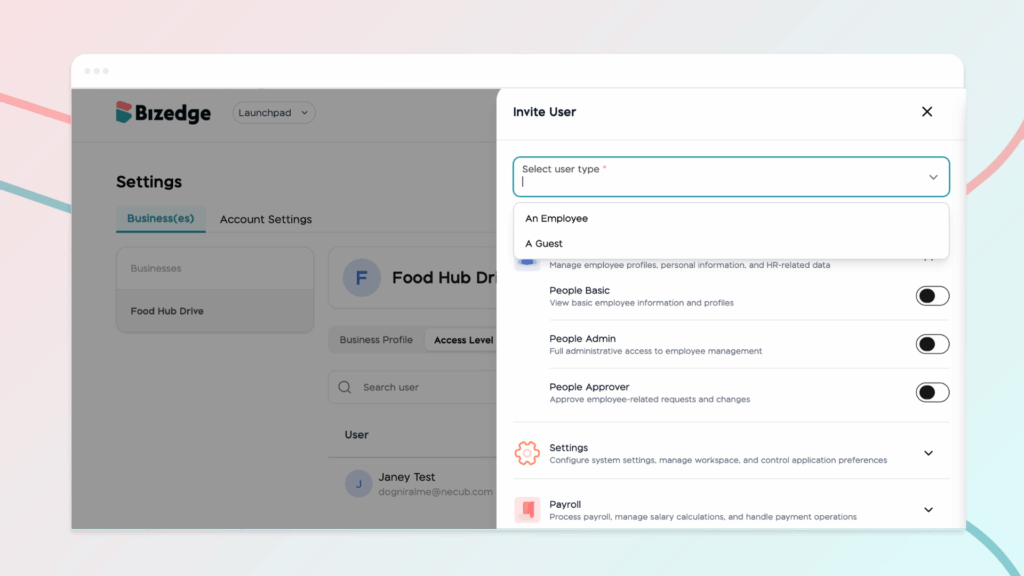
Step 4: Click on the People app access to toggle the access level you would like to give the employee. For People access, you can select these different access levels:
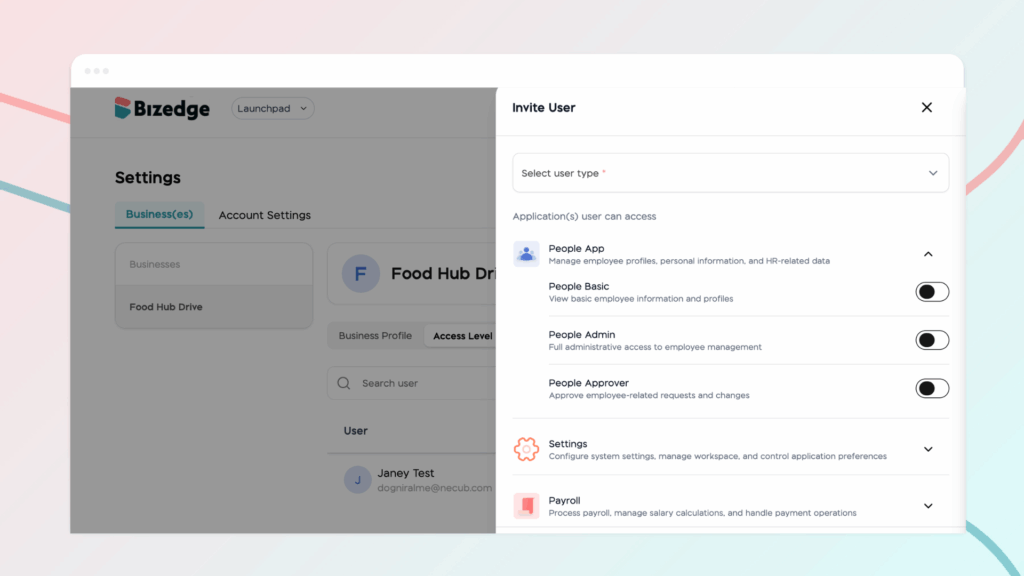
People Basic
This access level allows users to view employee profiles and basic information such as names, roles, departments, and contact details. Users with this role cannot edit or make changes to employee records.
People Approver
This role allows users to review and approve employee-related requests and updates. For example, they can approve profile changes, job updates, and other HR requests that require authorization before they take effect.
People Admin
This role provides full administrative control over employee management. Users can create and edit employee profiles, update personal and job information, manage documents, and perform other HR administrative tasks across the organization.
Step 5: Finally, click Save Changes to complete the process and successfully invite the user to the system.