
Asset and Vehicle App Overview
How to Add a New Asset Document
The Assets App enables you to add and manage all company assets in one centralized place. Once an asset has been created, it can be assigned to a specific employee, making it easy to track ownership, monitor usage, and maintain accountability across your organization.
Step 1: Open the Assets App
From the BizEdge launchpad, click on the Assets app and then click the Add Asset button at the top right corner of the dashboard.
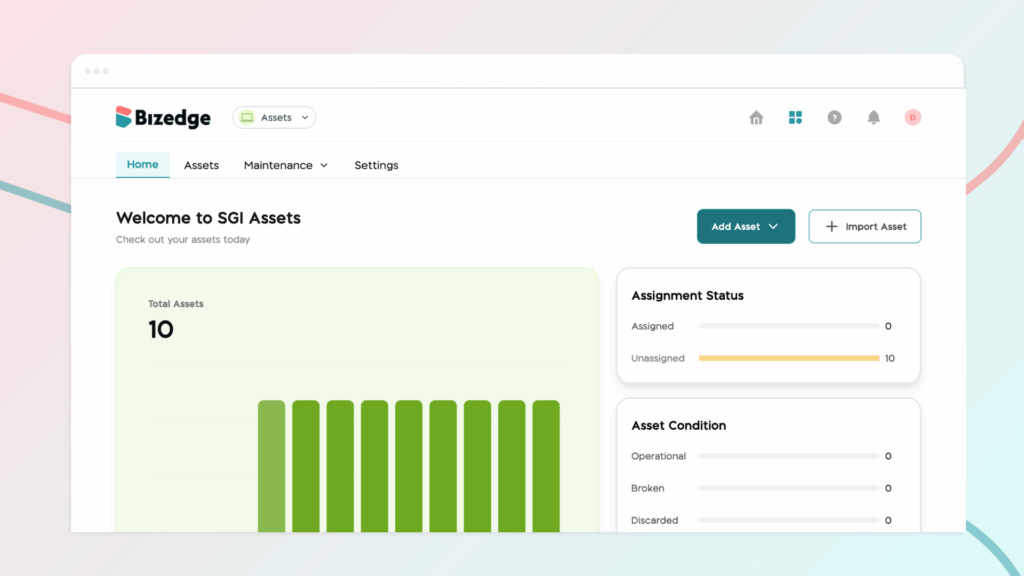
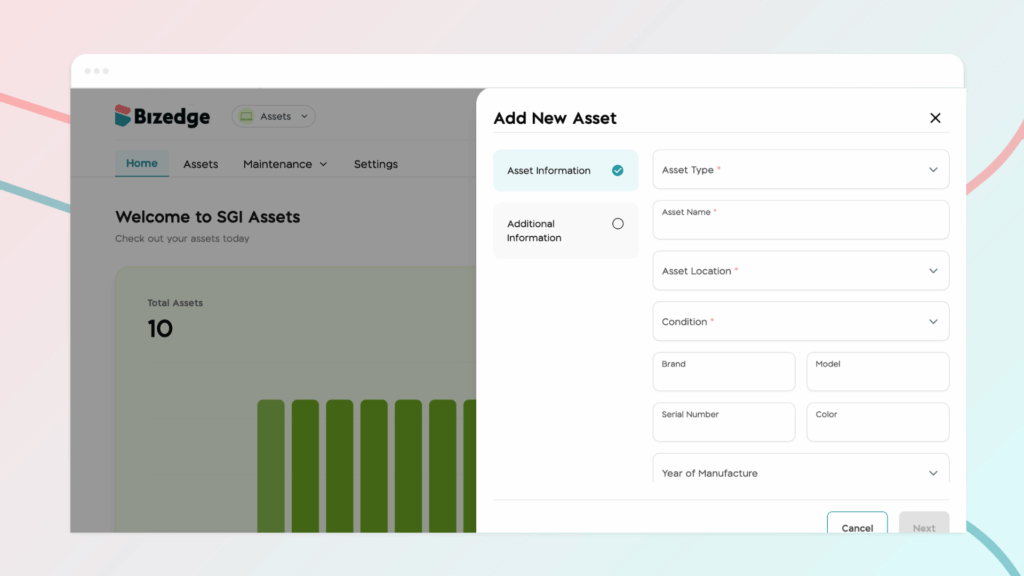
Step 2: Select Asset Type
Choose whether you are adding an Asset or a Vehicle. Once selected, a form will appear for you to fill in the relevant details about the asset.
Step 3: Fill in Asset Details
Complete the form with as much detail as needed. The app includes a list of pre-added asset types to choose from. If your preferred asset type is not available, navigate to Settings and create a new one under the Asset Type and ID section before proceeding.
Step 4: Save the Asset
Once all the required details have been filled in, click Save. The asset has now been successfully created and will appear in your Assets list.
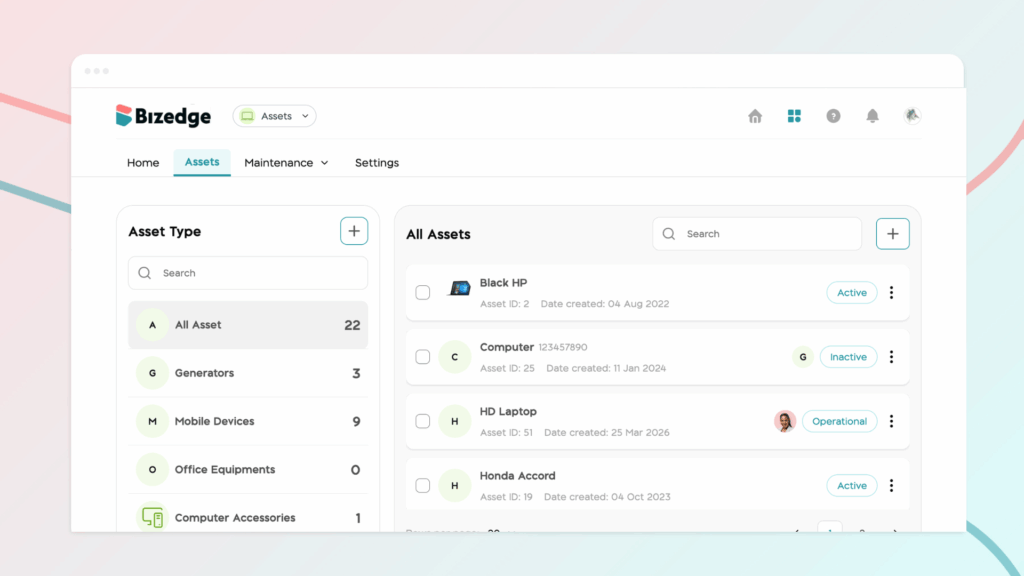
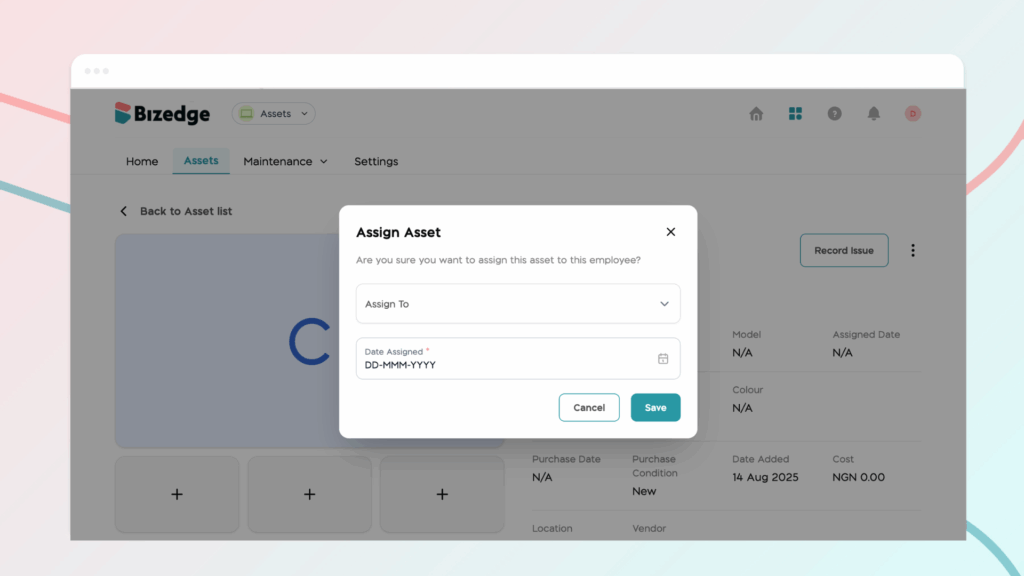
Step 5: Assign the Asset
To assign the asset to an employee, go to the Assets section on the dashboard and select the relevant asset type and asset. Click the three-dot menu (⋯) on the right, select Assign Asset, enter the assignee’s name and the assignment date, then click Assign to complete the process.
Step 6: Update or Reassign Assets
Assets can be updated, reassigned, or reassigned to a different employee at any time directly from the Asset dashboard.

